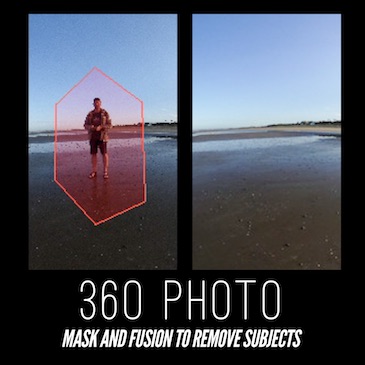
In this article, I present a technique based on panoramic fusion tools to erase the presence of the photographer or any other element in a 360 ° photography. Indeed, all directions are captured, they all appear in the final image and, unlike standard photography, the photographer is necessarily present in the image. If the photographer does not want to appear and can not hide, the solution will be based on an “erasure” to apply to the digital image.
THE APPROACH
The principle used here to delete one or more moving elements is to make several image captures and then merge with masking via the merge tools used for panoramic photography by assembly. If this area is new to you, I suggest you browse my Panoramic Guide.
The fusion will be all the easier to realize that the captured images will be the most identical possible, therefore, the shots must be done on a tripod.
The typical use case for this technique applied to the 360 is the erasure of the photographer. Nevertheless, you can apply it to any subject, rather small, and mobile between the images (birds, passing, car, ….).
For my part, I mainly use this technique to not appear in the image, I only make two shots, one where I position myself in one direction, then another where I position myself in the opposite direction .
In my case, I mainly use Hugin software. This is not the only choice and you can of course use the panoramic photo software of your choice.
THE 3-STEP CLEANING PROCESS
The cleaning procedure is as follows:
1. Upload images
I load the images in the Panoramic software indicating that they are Equirectangular projection and with a 360 ° angle of view.
In the example below, the conditions are quite extreme but few variations over several minutes. Thus, I had time to move from one place to another, to make my two photos with almost identical brightness. The merger works perfectly and quickly.
The two images used for my example are:
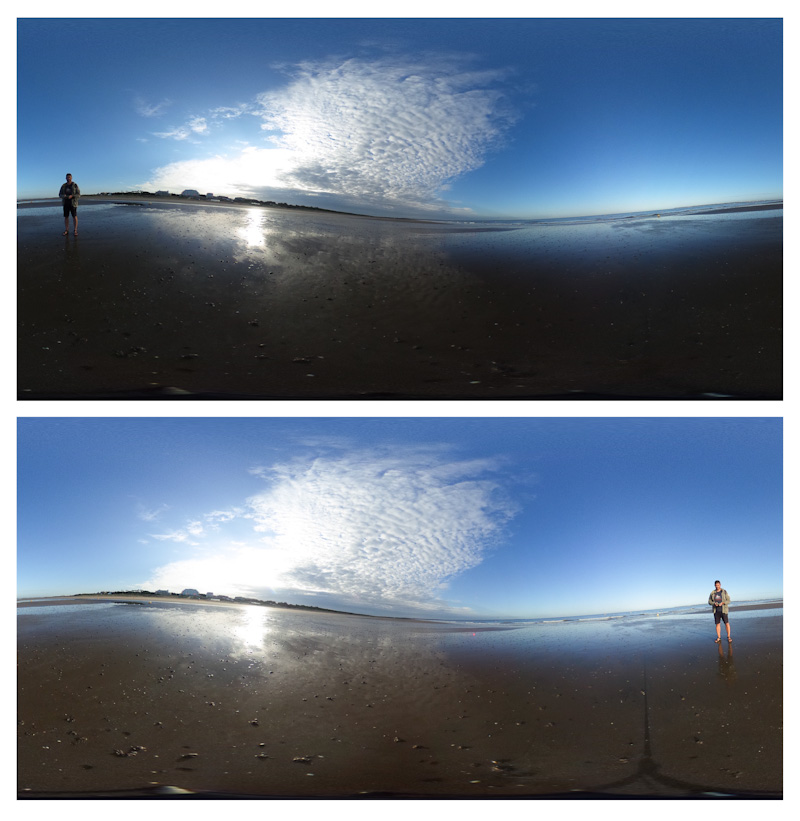
As can be seen, the exposure of the images is not strictly identical (which often happens in panoramic photography). As far as I am concerned, from one image to another, I am well positioned in two completely different directions. Note also the presence of the shadow of the photo foot.
Moreover, the horizon line is not horizontal, this results in this example, from the use of the raw images after fusion. The correction of the horizon can be done later.
2. Define the areas to hide
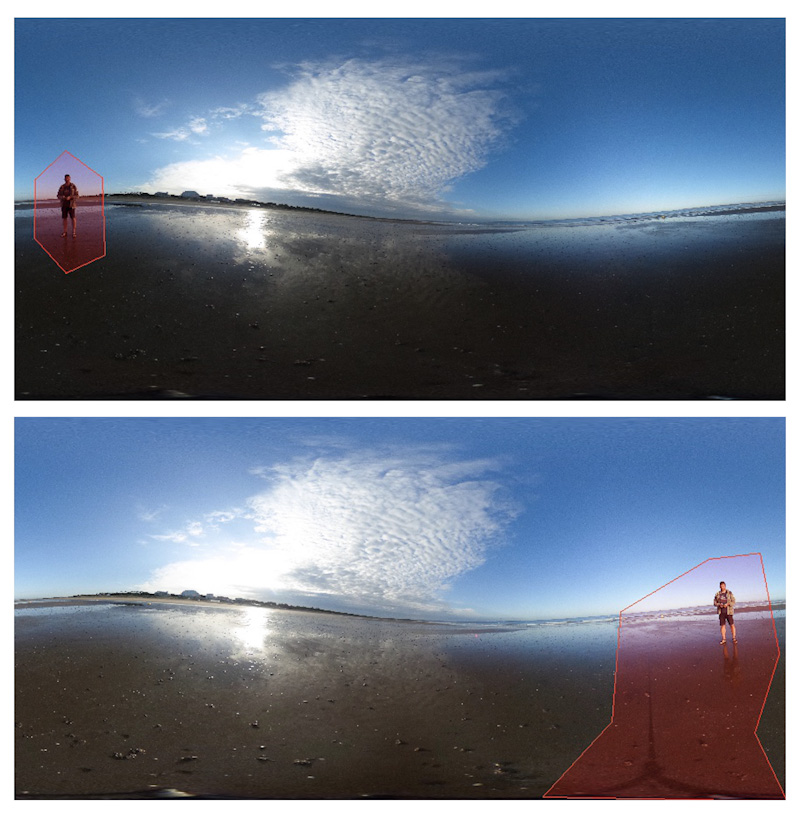
In the image merge tool, choose the configuration of the masking functions. The idea now is to define the zones to exclude from the merger. For each image, I choose areas that correspond to my position, note that I also take the opportunity to select the area of the shadow of the photo foot. The exclusion zones are marked in red in the following illustrations:
3. Fusion
Finally, we will start merging the images. The software will exclude red areas by filling them with information from the other image, all by applying a merge that must make the transition line imperceptible. Generally, the results are very good. In the case of too pronounced differences in brightness / contrast between the images, it may happen that the transition is visible after the merge.
The image of my example after merging is shown below. The exclusion zones have been perfectly taken into account and imperceptibly. My person is no longer visible and the shadow of the tripod is no longer present.
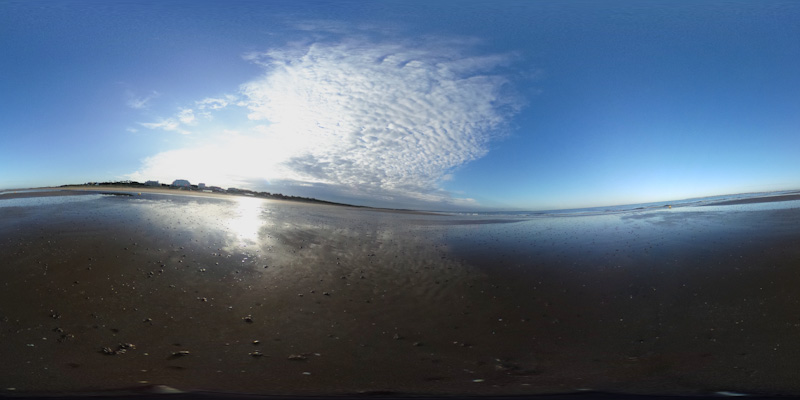
On this cleaned image can be applied global brightness treatments, contrast colorimetry to achieve the desired result.
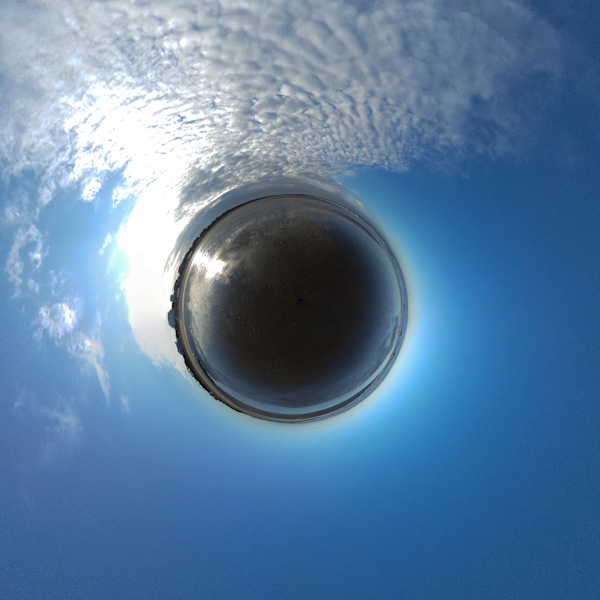
To finish the illustration of the final result, here is the same image 360 represented in mini-planet.
CONCLUSION
We have seen in this article how to erase moving elements from a 360° photo. The approach is particularly useful for numerically hiding the photographer who is in danger of not being able to hide behind his camera. This technique is very efficient because it relies on panoramic image fusion algorithms that have been widely tested for several years. The approach also has the enormous advantage of being insensitive to changes in brightness.
